Migrate your WordPress website to any webhost free with AegisBackup.
Switch Web Hosts in Minutes: No Stress, No Downtime, No Drama – it’s like making popcorn in the microwave!
First, download the AegisBackup plugin and install it on your current live WordPress site. After it’s installed, open the AegisBackup dashboard and create a DR backup of your site.
Once the backup is finished, download the backup file. You’ll need it for the next step.
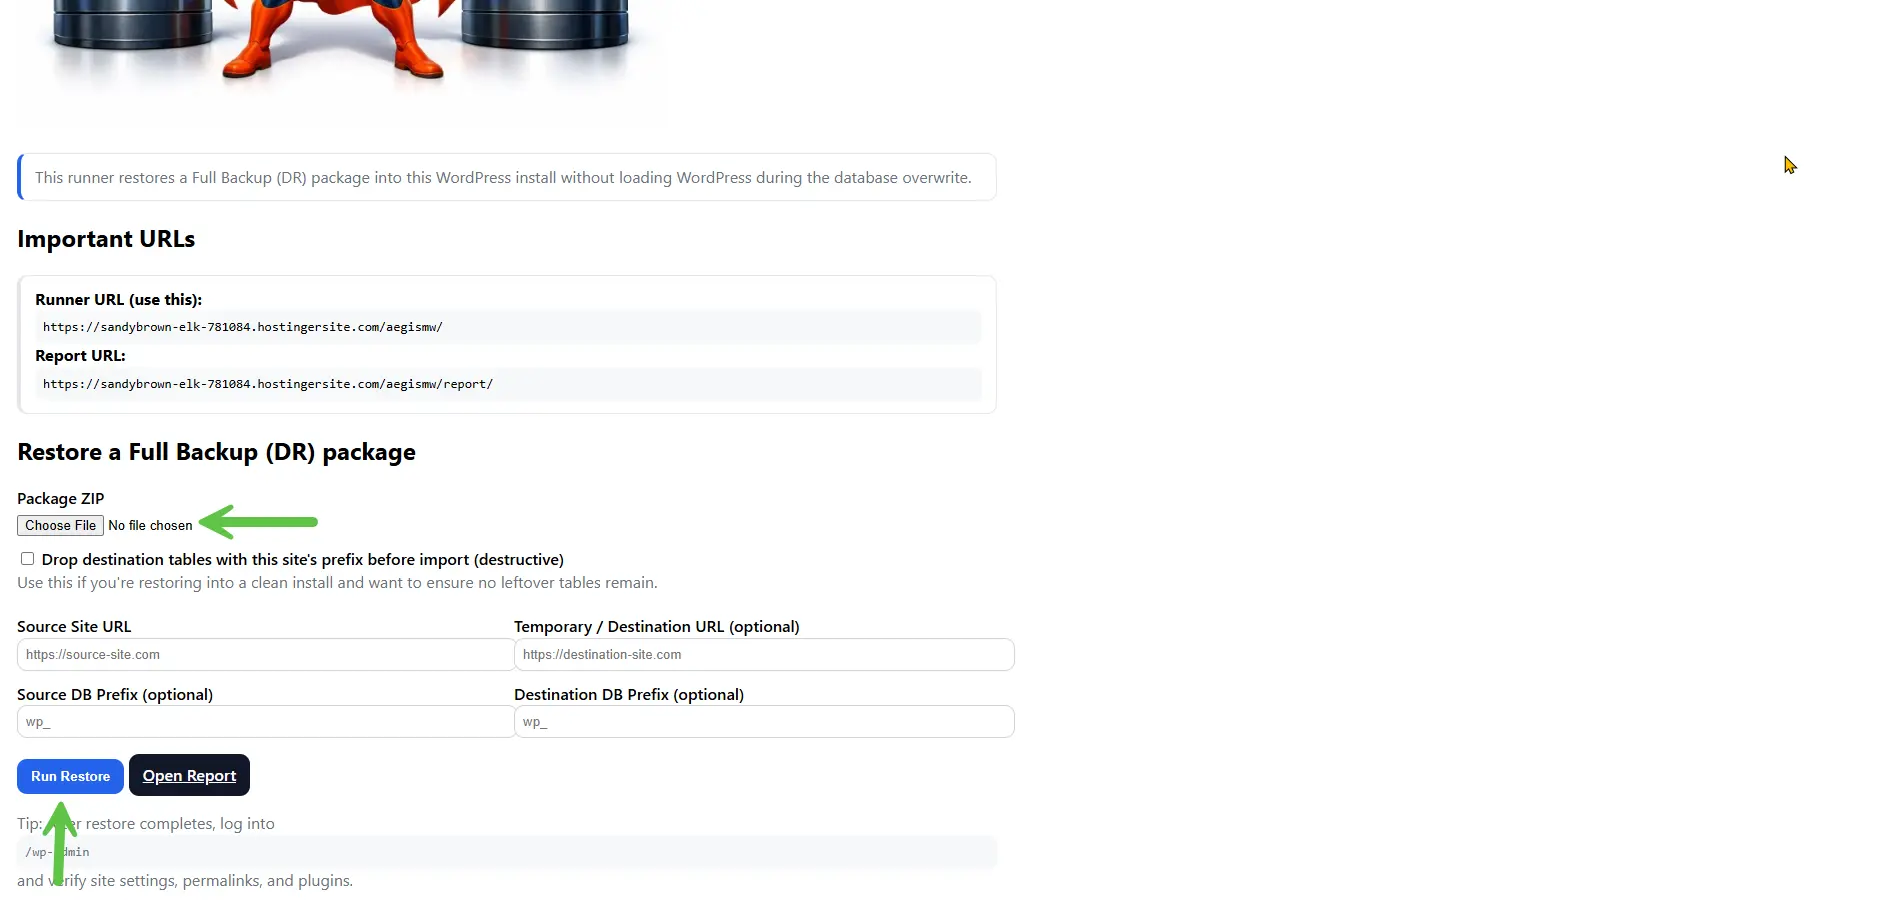
Next, install AegisBackup on your new destination WordPress site. Then, go to the Migration Wizard, click ‘Enable’ to create the /aegismw/ folder, and select ‘Open Runner’.
In the ‘Restore a Full Backup (DR)’ section, click the ‘Choose File’ button and select the backup ZIP file you downloaded earlier. Then, click ‘Run Restore.’
That’s all there is to it!

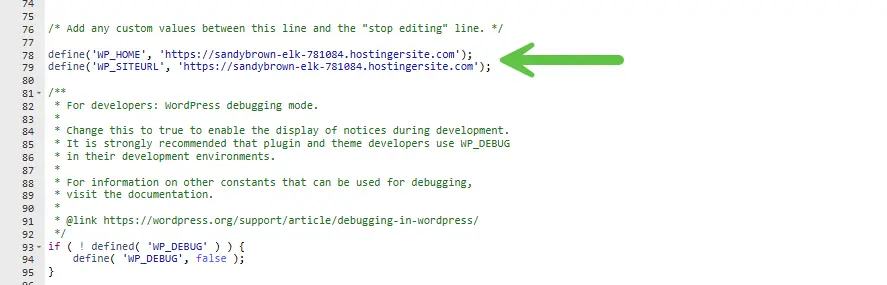
Don’t forget to update the wp-config.php file. Please open the readme.txt file, look for ‘### Destination Restored Site’ and copy the two lines into middle section of the file. Replace ‘hostname.hostingprovider.com‘ with your temporary domain.

Once you’re done, go to your temporary website url and verify everything has been restored.
Quick Checklist:- Load homepage
- Log into admin
- Upload image
- Submit contact form
- Save permalinks
- Open 3 random posts
If all pass → migration usually good.
Verified! Done! Congratulations!
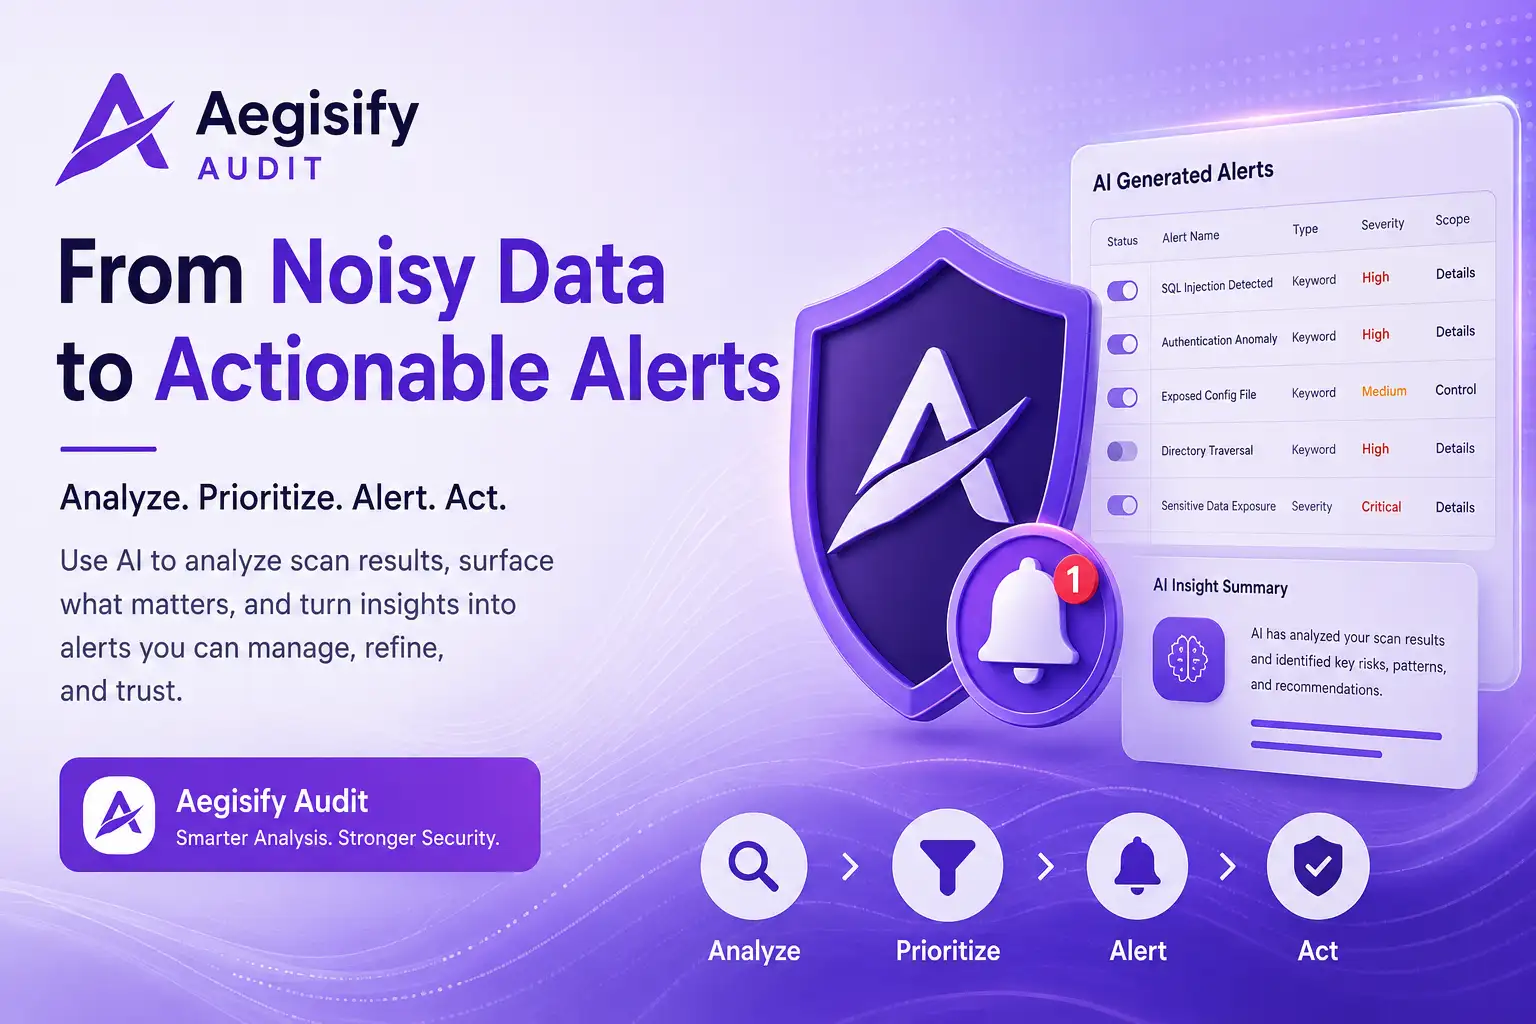
Try Aegisify Audit Risk Free 14 Days

Why security scan data becomes noisy so quickly
Every serious security expert knows the problem. A full audit can surface:
- Configuration weaknesses
- Exposed paths and endpoints
- Risky behaviors
- Repeated findings across similar routes
- Medium and high severity items mixed with informational noise
- Findings that sound technical but lack business context